
When it comes to school lunches and snacks, it's essential to strike a balance between nutrition, taste, and convenience. While pre-packaged snacks can be convenient, they often lack the freshness and quality that homemade options offer!
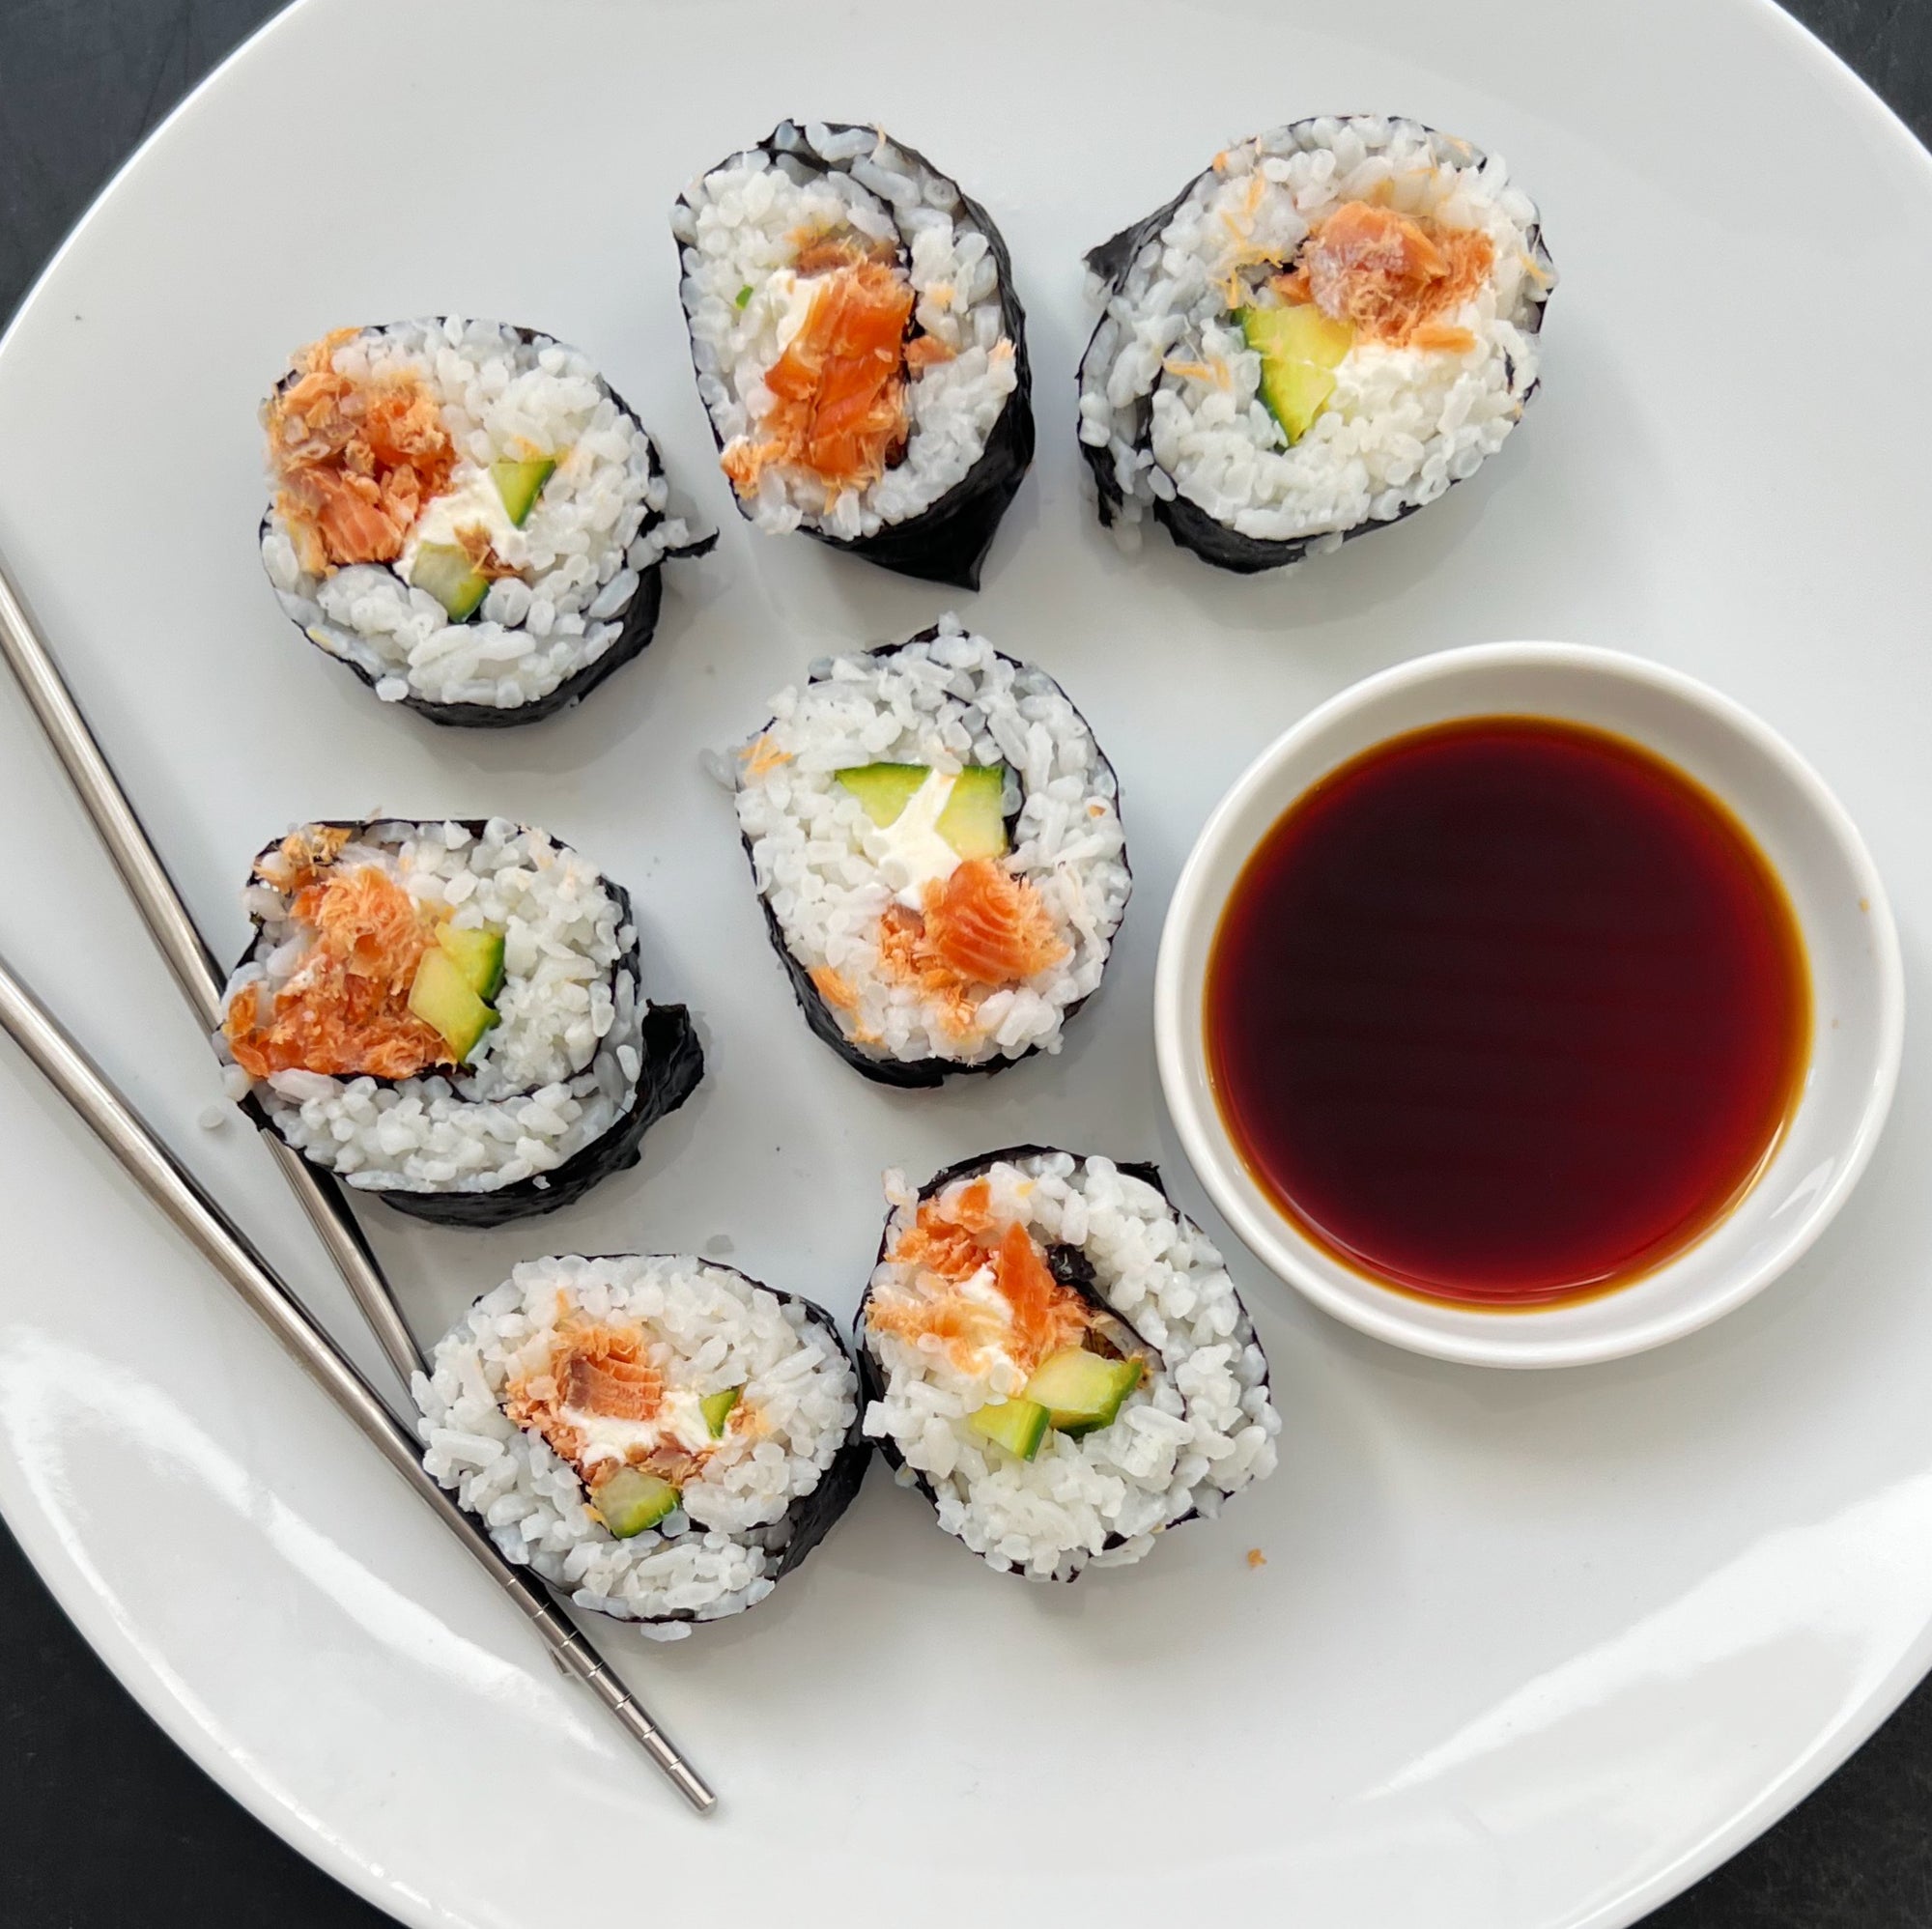
One fun and tasty option to consider is DIY sushi. Not only are they delicious and visually appealing, but they also provide a nutritious and customizable meal or snack that your kids will love.
In this blog post, we'll explore how to make DIY sushi rolls for school lunches and snacks that are both healthy and exciting!
The Benefits of Sushi:
Nutrient-Rich: Seafood such as salmon, tuna, and shrimp are excellent sources of lean protein, Omega-3 fatty acids, vitamins, and minerals. These nutrients support growth and brain development.
Quick: Sushi rolls can be made in minutes, making them a healthy and time-efficient choice!
Customizable: You can tailor sushi rolls to your child's preferences, ensuring they get a meal or snack they truly enjoy.
Fun to Make: Preparing sushi rolls together can be an enjoyable family activity, encouraging your child to take an interest in cooking and nutrition.
Ingredients You'll Need:
Before we dive into the DIY sushi roll-making process, let's gather the essential ingredients:
Sushi rice: Short-grain or medium-grain rice, vinegar, sugar, and salt to make the seasoned sushi rice.
Nori (seaweed sheets): Available at most grocery stores or online.
Seafood: One amazing benefit of flash frozen seafood is that it is sashimi grade and can be enjoyed raw or cooked! Depending on your preferences, you can use raw or cooked and cooled seafood including salmon, crab meat, shrimp, smoked salmon, or cooked tuna. If you’re packing it in advance, we recommend cooked options.
Vegetables: Cucumber, avocado, and carrots work well. Slice them thinly for easy rolling!
Soy sauce, wasabi, and pickled ginger for dipping and added flavor.
Bamboo sushi rolling mat (makisu) and plastic wrap for rolling.
Step-by-Step Instructions
Now, let's get into the fun part – making your DIY sushi roll!
Prepare the sushi rice: Rinse the rice, cook it according to package instructions, and then season it with a mixture of vinegar, sugar, and salt. Let it cool to room temperature.
Prep the fillings: Slice your seafood and vegetables into thin strips. Set them aside.
Assemble your workstation: Lay out the bamboo rolling mat on a clean surface, and cover it with plastic wrap. Place a sheet of nori, shiny side down, on the mat.
Spread a thin layer of seasoned rice evenly over the nori, leaving about half an inch of nori at the top free of rice.
Add your fillings: Arrange your choice of seafood and vegetables along the bottom third of the rice-covered nori sheet.
Roll it up: Use the bamboo mat to roll the nori and rice tightly over the fillings. Wet the exposed nori edge with a little water to seal the roll.
Slice and serve: Use a sharp, wet knife to slice the roll into bite-sized pieces. Sushi can be enjoyed with soy sauce, ginger, wasabi, and more!
Let’s Roll!
DIY seafood sushi rolls are a fantastic option for school lunches and snacks that combine nutrition, taste, and convenience! With a little practice, you'll become a sushi master, delighting your kids with delicious and healthy homemade treats.
So, why not add a touch of creativity and nutrition to your child's lunchbox? Dive into the world of homemade sushi rolls and watch as your child eagerly anticipates their school meals. Happy rolling!

